Finding an oil leak under your car can be worrying. Whether it’s a few drops on your driveway or a steady drip from the engine, ignoring an oil leak can lead to serious engine damage, poor performance, and costly repairs. The good news is that many small leaks can be fixed or sealed before they turn into major problems.
This comprehensive guide explains how to seal an oil leak, including identifying the source, choosing the right sealant, and preventive measures to avoid future leaks.
For a technical overview of engine oil and its function, visit Motor oil (Wikipedia).
What Causes an Oil Leak?
Oil leaks can occur for several reasons, most of which involve aging components, worn seals, or improper maintenance. Understanding the cause helps you choose the best sealing method.
Common causes include:
- Worn gaskets or seals (like the valve cover gasket or oil pan gasket)
- Loose or damaged drain plug after an oil change
- Cracked oil pan due to road debris or corrosion
- Worn piston rings or valve guides (internal leaks)
- Overfilled oil reservoir causing excess pressure
- Aging engine components that shrink and harden over time
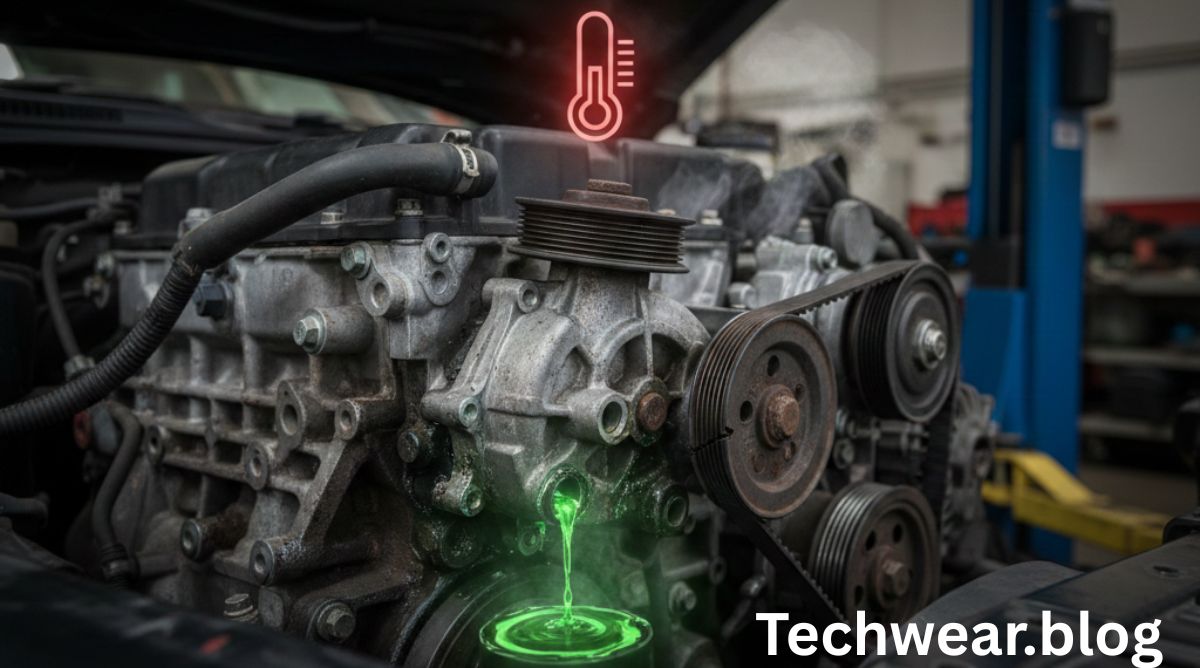
Even small leaks can cause significant engine wear if the oil level drops below the safe limit.
Signs That Your Engine Has an Oil Leak
Detecting an oil leak early can save you hundreds of dollars in repair costs. Here are the key warning signs to watch for:
- Oil spots under your car after parking overnight
- Burning oil smell inside or outside the cabin
- Blue or gray exhaust smoke (indicates oil burning in the engine)
- Low oil level on the dipstick between oil changes
- Check engine or oil pressure warning light illuminated on the dashboard
If you notice any of these symptoms, it’s best to inspect the engine area before the leak worsens.
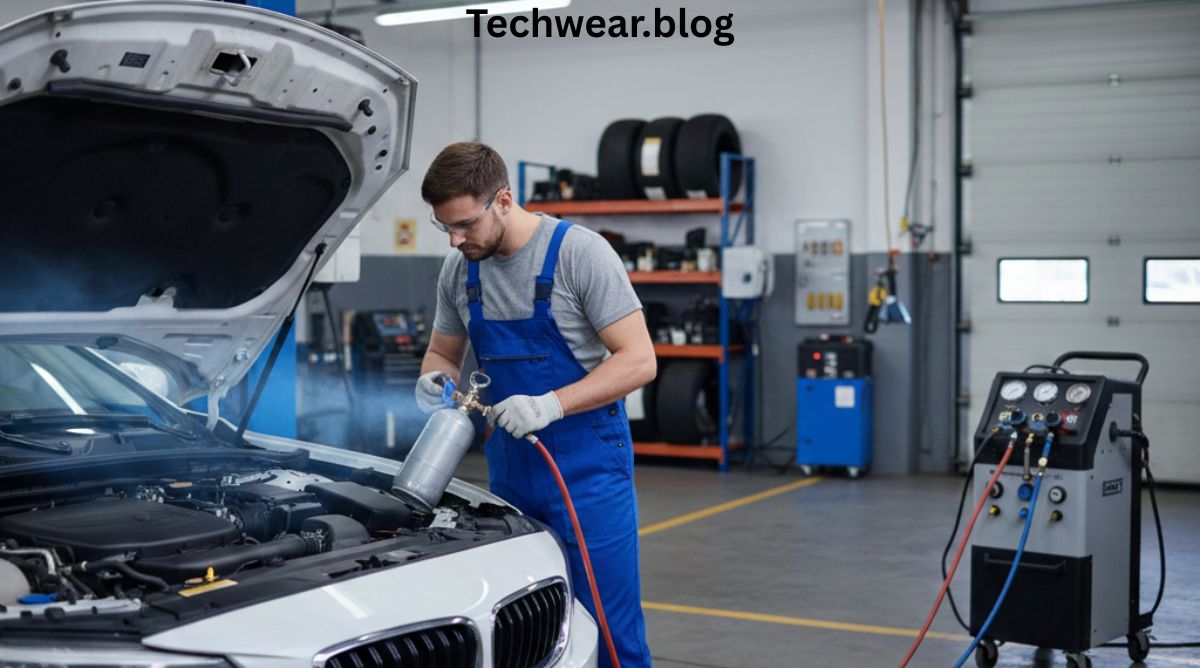
Step 1: Locate the Source of the Leak
Before you can seal an oil leak, you must determine exactly where it’s coming from. Here’s how:
- Clean the engine: Use a degreaser or brake cleaner to remove old oil and grime. Let the engine dry completely.
- Run the engine briefly: Start the car and let it idle for 5–10 minutes.
- Inspect visually: Look under the hood and beneath the car for fresh oil spots.
- Use UV dye (optional): Add UV leak-detection dye to the engine oil and use a UV flashlight to trace the leak precisely.
Typical leak points include the valve cover gasket, oil pan gasket, front and rear main seals, timing cover, and oil filter housing.
Step 2: Tighten Bolts and Check Components
Sometimes, a simple tightening of bolts can stop a leak. Over time, heat and vibration cause bolts around the oil pan or valve cover to loosen.
- Use a torque wrench and follow your vehicle’s manufacturer specifications.
- Do not overtighten — this can crush the gasket and worsen the leak.
- Check the oil drain plug and oil filter for proper fit; these are common leak points after oil changes.
If tightening doesn’t solve the issue, proceed to sealing or replacing the affected parts.
Step 3: Use an Engine Oil Stop-Leak Additive
If the leak is minor and caused by dried or shrunken seals, a stop-leak additive is a quick and affordable solution.
How It Works
Stop-leak additives contain conditioners that rejuvenate rubber seals and gaskets, restoring their flexibility. This helps them expand slightly and reseal small cracks or gaps.
How to Use It
- Buy a reputable oil stop-leak product (like Lucas, Bar’s Leaks, or BlueDevil).
- Warm up your engine slightly to thin the oil.
- Pour the additive directly into the oil filler cap (just like adding motor oil).
- Drive for 100–200 miles to let the additive circulate and take effect.
When It Helps
- Minor leaks around the valve cover, camshaft, or crankshaft seals.
- Small oil pan gasket leaks.
- Engines with older rubber seals that have hardened.
When It Doesn’t Help
- Major leaks or cracks in the oil pan.
- Torn or missing gaskets.
- Internal leaks (like bad piston rings).
Stop-leak products are best as a temporary fix or preventive measure, not a permanent repair.
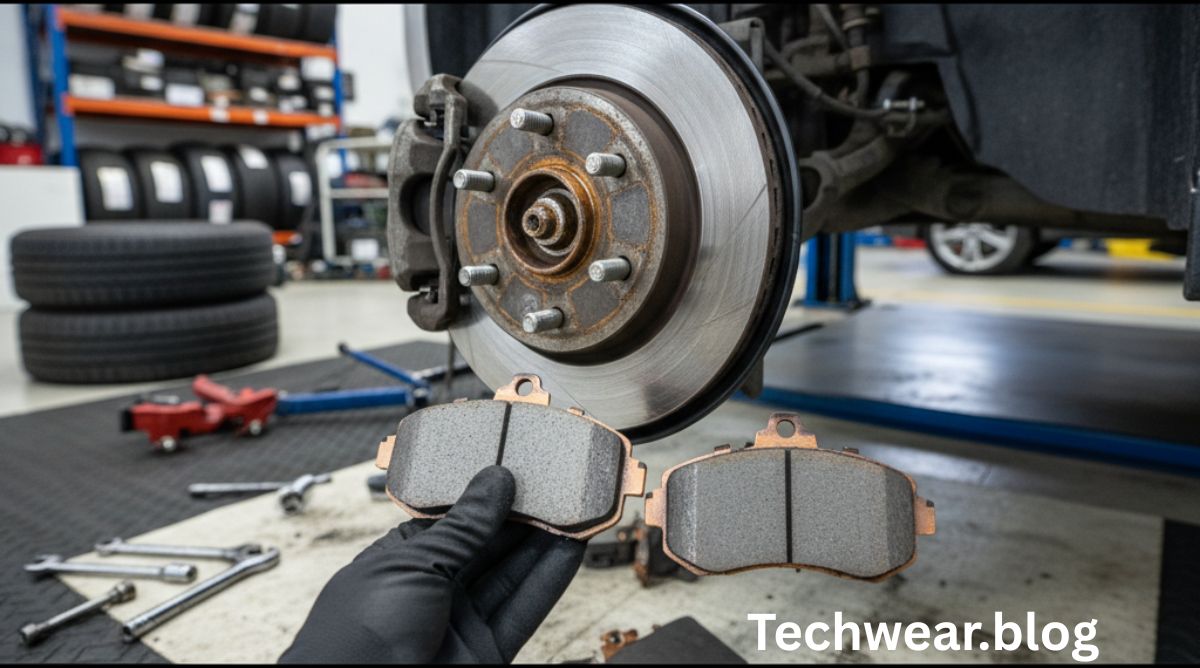
Step 4: Replace Faulty Gaskets or Seals
If the leak is more serious, you’ll need to replace the damaged gasket or seal.
Common Replacement Areas
- Valve cover gasket: One of the most common leak sources. Costs $80–$300 (parts + labor).
- Oil pan gasket: Requires lifting the car; costs $150–$400.
- Rear main seal: Complex repair; costs $600–$1,200 due to labor.
- Timing cover gasket: Costs $400–$900 depending on engine design.
DIY or Professional?
- DIY repair is possible for upper-engine leaks (like the valve cover).
- Professional repair is recommended for deep internal seals or hard-to-reach areas.
Always use OEM or high-quality aftermarket gaskets to prevent repeat leaks.
Step 5: Seal External Leaks Using Gasket Sealant
For small external leaks, especially along gasket edges or threads, you can apply RTV silicone sealant or liquid gasket maker.
Steps:
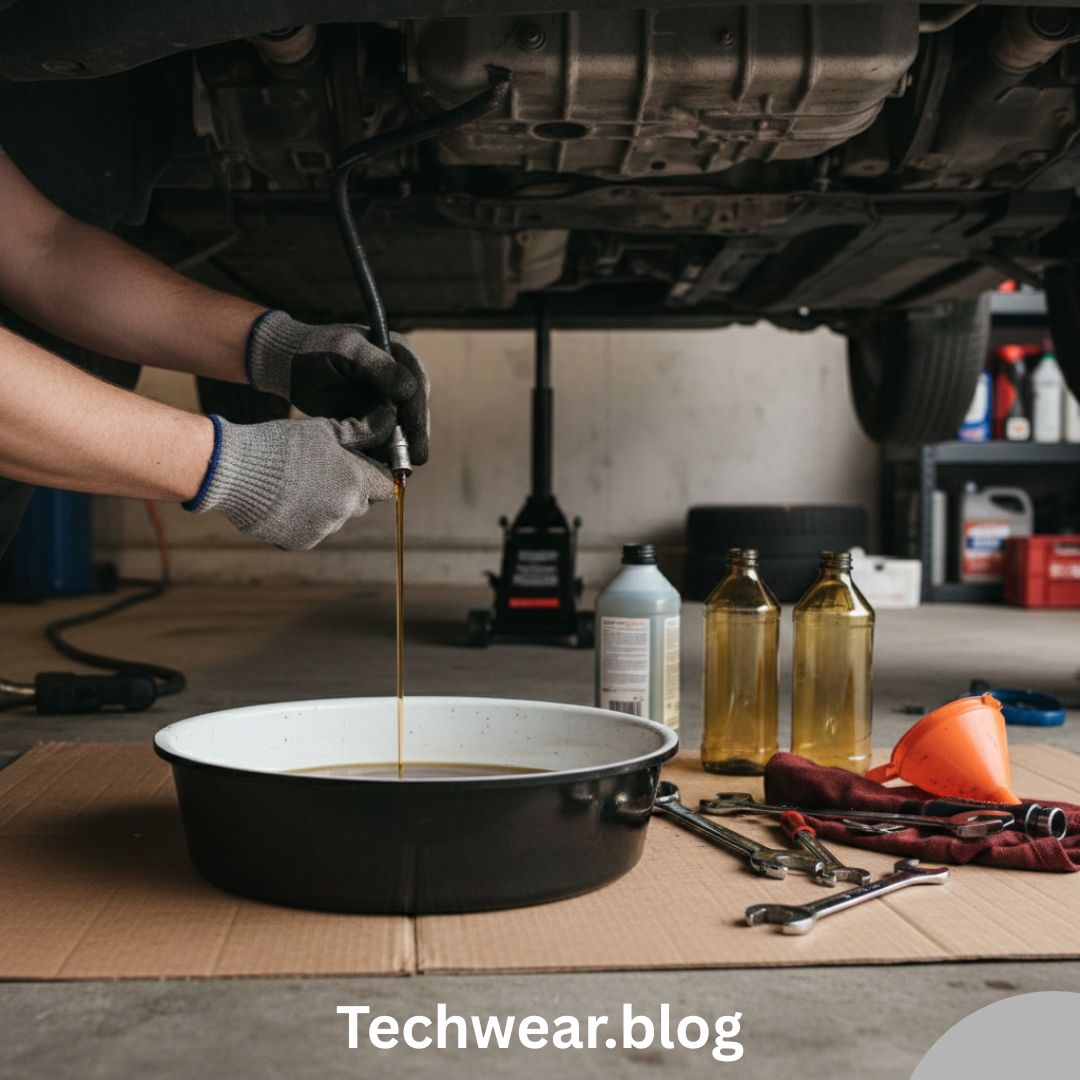
- Drain the oil if the leak is at a low point (like the oil pan).
- Clean the area thoroughly with degreaser.
- Apply a thin, even layer of high-temperature RTV sealant along the leaking edge.
- Let it cure for the manufacturer’s recommended time (usually 1–2 hours).
- Refill oil and run the engine to test.
Popular high-temperature sealants include Permatex Ultra Black, Loctite 598, and JB Weld RTV.
Step 6: Check and Refill Oil Properly
After any repair or sealing, check your oil level and condition.
- Refill with the manufacturer-recommended viscosity grade (e.g., 5W-30, 10W-40).
- If your oil looks milky or dirty, change it completely.
- Monitor for new leaks over the next few days — some small leaks take time to seal completely.
Preventing Future Oil Leaks
Regular maintenance and inspections are key to preventing oil leaks. Here are some proven prevention tips:
- Change oil and filters on time: Old, dirty oil causes sludge that can harden seals.
- Avoid overfilling oil: Too much oil creates pressure and forces leaks.
- Inspect seals and gaskets regularly: Replace them at the first sign of wear.
- Use high-quality motor oil: Synthetic oils maintain seal health better than low-grade conventional oils.
- Check PCV valve function: A clogged PCV system increases crankcase pressure and pushes oil out of seals.
- Keep the engine clean: Dirt and grime can mask leaks and corrode metal parts.
DIY vs. Professional Help — Which Is Better?
| Approach | Cost Range | Pros | Cons |
|---|---|---|---|
| DIY Sealant / Additive Fix | $15 – $60 | Cheap, quick, easy | Temporary fix only |
| DIY Gasket Replacement | $50 – $200 | Saves labor cost | Requires tools and skill |
| Professional Repair | $150 – $1,200 | Long-term solution, warranty | Higher cost |
If you’re comfortable with basic mechanics, try a sealant or additive first. But for persistent or large leaks, a professional mechanic’s diagnosis is worth the investment.
Cost Breakdown — What You Might Pay
The total cost to seal or fix an oil leak depends on the part affected:
| Leak Source | Estimated Cost (Parts + Labor) |
|---|---|
| Valve Cover Gasket | $80 – $300 |
| Oil Pan Gasket | $150 – $400 |
| Front / Rear Main Seal | $600 – $1,200 |
| Timing Cover Gasket | $400 – $900 |
| Oil Filter Housing | $100 – $350 |
| Minor Leak Sealant or Additive | $15 – $60 |
Small leaks can often be handled for under $100, while severe leaks may cost over $1,000 to repair professionally.
Safety Tips When Fixing Oil Leaks
- Always work on a cool engine to avoid burns.
- Use jack stands for safety when working under the vehicle.
- Dispose of used oil and rags at authorized recycling centers.
- Keep sealants away from open flames — they are flammable.
- Wear gloves and safety glasses during repairs.
When to See a Mechanic Immediately
Seek professional help if you notice:
- Rapid oil loss (needing top-ups every few days)
- Oil mixing with coolant (milky substance under the oil cap)
- Smoke coming from the engine bay
- Oil dripping onto the exhaust manifold (fire risk)
These signs may indicate deeper mechanical problems that a simple sealant cannot fix.
Final Thoughts
Knowing how to seal an oil leak can save you time, money, and stress. For small leaks, oil additives and sealants offer quick solutions, while gasket replacements provide long-term results. Always identify the leak source accurately before applying any fix, and never ignore oil leaks — even small ones can cause expensive engine damage over time.
For more information about how engine oil works and why maintaining proper lubrication is crucial, visit Motor oil (Wikipedia).