Your car’s transmission is one of the most critical systems in ensuring smooth gear shifts and overall performance. Over time, the transmission fluid inside your vehicle breaks down, collects dirt, and loses its lubricating properties. This can lead to sluggish shifting, overheating, and premature wear. While many auto shops use special machines to flush the system, it’s absolutely possible to flush a transmission without a machine — safely and effectively — using basic tools and patience.
what tools you’ll need, and how to avoid common mistakes. Whether you’re a DIY car enthusiast or simply trying to save on shop costs, this guide will walk you through the process confidently.
What Does a Transmission Flush Do?
A transmission flush is a maintenance process that removes old, contaminated transmission fluid from your car’s system and replaces it with new fluid. This ensures your gears are lubricated, your transmission runs cool, and performance remains smooth.
Over time, the fluid can degrade due to heat and friction, losing its ability to protect internal components. A proper flush removes:
- Old transmission fluid
- Dirt and metal shavings
- Varnish buildup and sludge
Unlike a simple drain and fill, which replaces only about 30–50% of the old fluid, a full flush exchanges almost all of it.
Why You Might Need to Flush a Transmission
Flushing the transmission helps extend the life of your car and prevent expensive repairs. You might need one if you notice the following:
- Slipping gears: The engine revs but doesn’t engage the gear properly.
- Rough or delayed shifting: Hesitation or jerky movement when shifting.
- Burning smell: Indicates overheated or burnt transmission fluid.
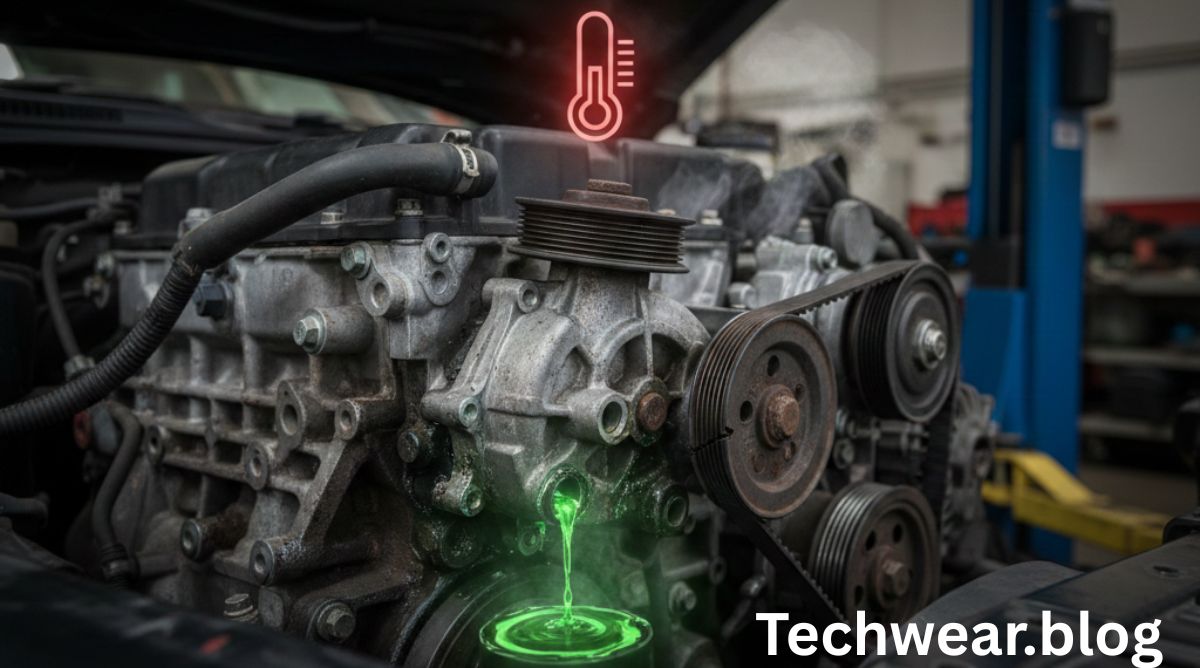
- Dark or dirty fluid: Clean fluid should be bright red; brown or black fluid means contamination.
- Whining or clunking noises: Can signal insufficient lubrication.
If you’ve recently purchased a used car or haven’t serviced your transmission for a long time, a flush can help restore smooth performance.
When to Flush (or Not Flush) the Transmission
Flushing your transmission should be done at the right intervals. Generally:
- Automatic transmissions: Every 30,000 to 60,000 miles
- Manual transmissions: Every 40,000 to 80,000 miles
However, if your car has never been flushed and already has extremely high mileage, a full flush might not be recommended. The fresh fluid could dislodge too much debris, leading to clogging or leaks. In such cases, a simple drain and fill may be safer.
Tools and Materials You’ll Need
Before learning how to flush a transmission without a machine, gather the following supplies:
Tools:
- Socket wrench set
- Jack and jack stands (or car ramps)
- Large drain pan
- Funnel
- Clear tubing or hose (for the fluid line)
- A few clean containers or jugs
Materials:
- New transmission fluid (check your owner’s manual for type and quantity)
- New transmission filter (if applicable)
- New gasket or pan seal
- Cleaning rags or shop towels
Always use manufacturer-recommended transmission fluid — using the wrong kind can cause slipping or damage.
Step-by-Step: How to Flush a Transmission Without a Machine
Let’s break the process down into manageable steps.
Step 1: Warm Up the Vehicle
Start your engine and let it run for about 5 to 10 minutes. Warm fluid drains more effectively and carries contaminants with it.
Then, turn off the car and park it on a level surface. Engage the parking brake for safety.
Step 2: Lift the Car Safely
Use a floor jack to raise the front of the vehicle and place it securely on jack stands. Ensure it’s stable before getting underneath.
Never rely solely on a hydraulic jack — always use jack stands for safety.
Step 3: Locate the Transmission Pan and Drain Plug
Crawl under the vehicle and locate the transmission pan, which resembles the engine oil pan but is usually positioned further back.
Some transmission pans have a drain plug; others require removing the entire pan to drain the fluid.
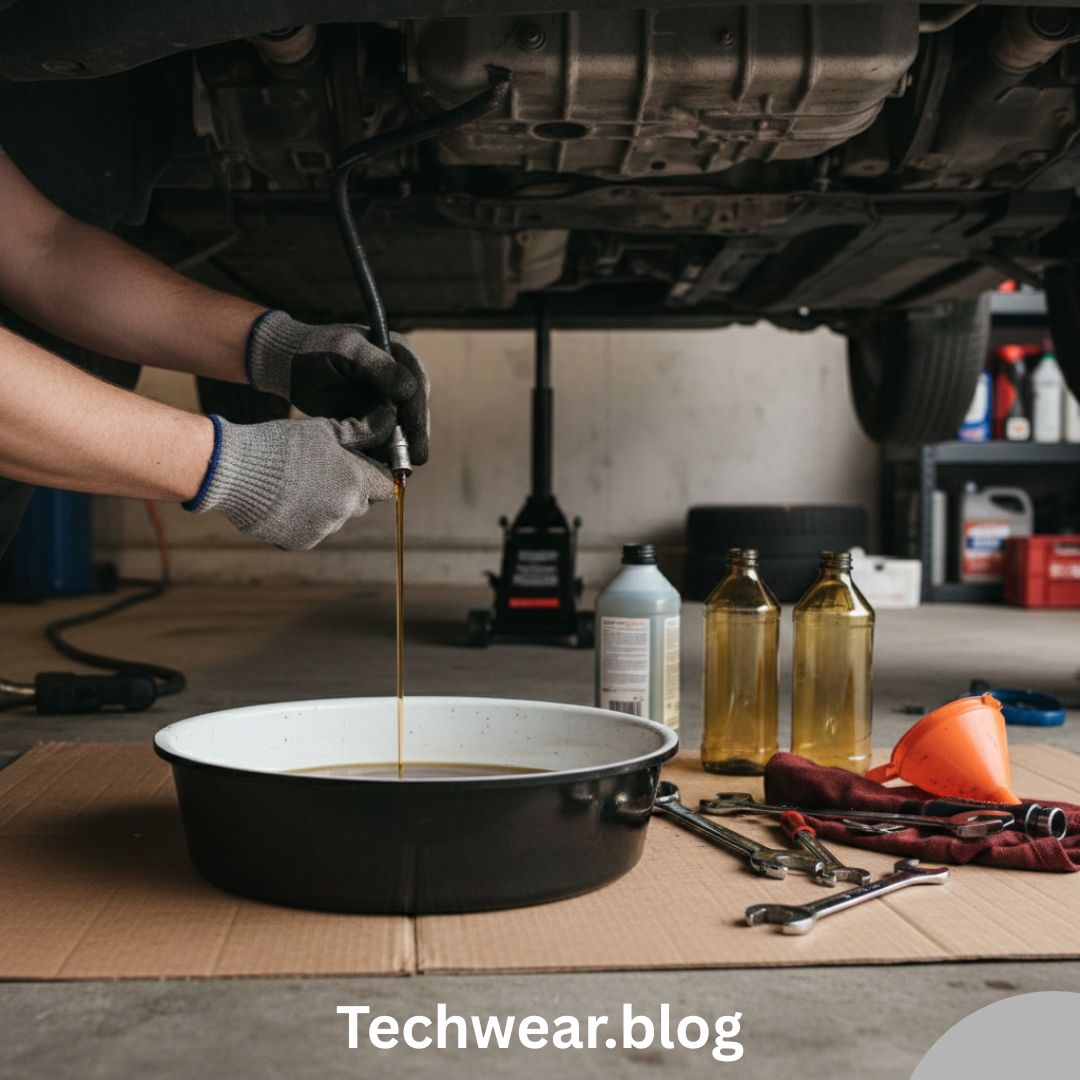
Step 4: Drain the Old Transmission Fluid
Place your drain pan underneath the transmission and remove the drain plug (or loosen the pan bolts gradually to allow fluid to escape).
Be cautious — transmission fluid can be hot. Allow all fluid to drain completely.
Once drained, remove the transmission pan completely and set it aside.
Step 5: Clean the Transmission Pan and Magnet
Inside the pan, you’ll often find a small magnet designed to catch metal shavings. Clean the magnet thoroughly with a rag and some brake cleaner.
Wipe down the entire pan to remove old sludge and residue.
Step 6: Replace the Transmission Filter (If Applicable)
Some transmissions have a replaceable filter inside the pan. Remove the old filter (usually held by a few bolts or clips) and replace it with a new one.
Ensure it’s seated properly and the rubber O-ring is intact.
Step 7: Reinstall the Transmission Pan
Reattach the clean transmission pan using a new gasket or seal. Tighten bolts in a crisscross pattern to ensure even pressure.
Do not overtighten — it can warp the pan and cause leaks.
Step 8: Refill with New Transmission Fluid
Now, locate the transmission dipstick tube (in automatic vehicles) — this is where you’ll add the new fluid.
Using a funnel, pour in about half of the required transmission fluid. You’ll add more later as you flush out the old fluid from the cooler line.
Step 9: Locate and Disconnect the Cooler Line
The transmission cooler line carries fluid to and from the radiator. Identify the return line (the one that carries fluid back to the transmission).
Disconnect it carefully and attach a clear hose to its end, directing it into your drain container.
This will allow old fluid to exit while you pour new fluid in simultaneously.
Step 10: Flush the Old Fluid Out
Now comes the actual “flush.”
- Start the engine and let it idle.
- As the old fluid pumps out through the hose, watch its color — it will begin dark and dirty.
- At the same time, pour new transmission fluid into the dipstick tube to replace the exiting fluid.
Continue this process until the fluid coming out of the hose looks clean and bright red (similar to the new fluid).
This usually takes around 10–12 quarts total, depending on the vehicle.
Step 11: Reconnect the Cooler Line
Once clean fluid starts coming out, turn off the engine immediately.
Reconnect the transmission cooler line securely and double-check all connections for leaks.
Step 12: Top Off the Transmission Fluid
Use the dipstick to check the fluid level. Add more fluid if necessary to reach the “Full” or “Hot” mark on the dipstick.
Make sure to use small amounts at a time to avoid overfilling.
Step 13: Test Drive and Final Check
Start the engine again and shift through all gears slowly — from “Park” to “Drive” and “Reverse.” This helps circulate the new fluid throughout the transmission.
Then, take the car for a 10–15 minute test drive. Afterward, recheck the fluid level and top off if needed.
Benefits of Flushing the Transmission Without a Machine
Doing a manual transmission flush comes with several advantages:
- Cost savings: Shops charge $150–$300, but DIY costs are usually under $80.
- Control: You decide the fluid quality and ensure thorough cleaning.
- Maintenance learning: Understanding your transmission helps you recognize issues early.
- No special tools required: You only need basic mechanical tools.
Common Mistakes to Avoid
While flushing a transmission without a machine is straightforward, be aware of these pitfalls:
- Using the wrong fluid: Always check the manufacturer’s recommendation.
- Overfilling or underfilling: Can cause shifting issues or internal damage.
- Forgetting to replace the filter: Reduces the effectiveness of your flush.
- Not securing lines properly: Can lead to leaks under pressure.
- Running the engine too long during flushing: This can drain the system dry and damage internal parts.
How Much Does It Cost to Flush a Transmission Manually?
Here’s a quick cost breakdown:
| Item | Estimated Cost (USD) |
|---|---|
| Transmission fluid (10–12 quarts) | $50 – $90 |
| New filter & gasket | $20 – $40 |
| Miscellaneous (rags, cleaner, funnel) | $10 – $20 |
| Total (DIY) | $80 – $150 |
Compared to professional flush services that can exceed $300, this DIY approach is far more affordable.
Maintenance Tips After a Transmission Flush
To keep your transmission running smoothly:
- Check fluid levels monthly — especially if you notice leaks.
- Use synthetic fluid if your car’s manufacturer recommends it for better heat resistance.
- Replace filters regularly during every other flush.
- Avoid aggressive driving that overheats transmission components.
- Monitor for leaks or unusual noises after flushing.
Final Thoughts: Should You Flush Without a Machine?
Learning how to flush a transmission without a machine can save you money and give you better control over your vehicle’s maintenance. It’s a safe and effective method for most cars when done correctly.
Here’s a quick recap:
- Warm up and drain old fluid.
- Replace the filter and clean the pan.
- Refill and flush using the cooler line method.
- Reconnect everything and top off fluid.
Always ensure you use the correct transmission fluid and follow your vehicle’s service recommendations. With patience and attention to detail, you can keep your transmission shifting smoothly for years to come — no machine required.
In short: Performing a transmission flush without a machine gives you a cost-effective way to restore your vehicle’s performance, improve shift quality, and extend the life of your transmission. Whether you drive a compact sedan or a full-size truck, this method empowers you to take control of your car’s maintenance with confidence.